
Managing Contacts
Updated Dec 15, 2025
View and manage your customer database.
Accessing Contacts
Click Contacts in the left sidebar to view your contact list.
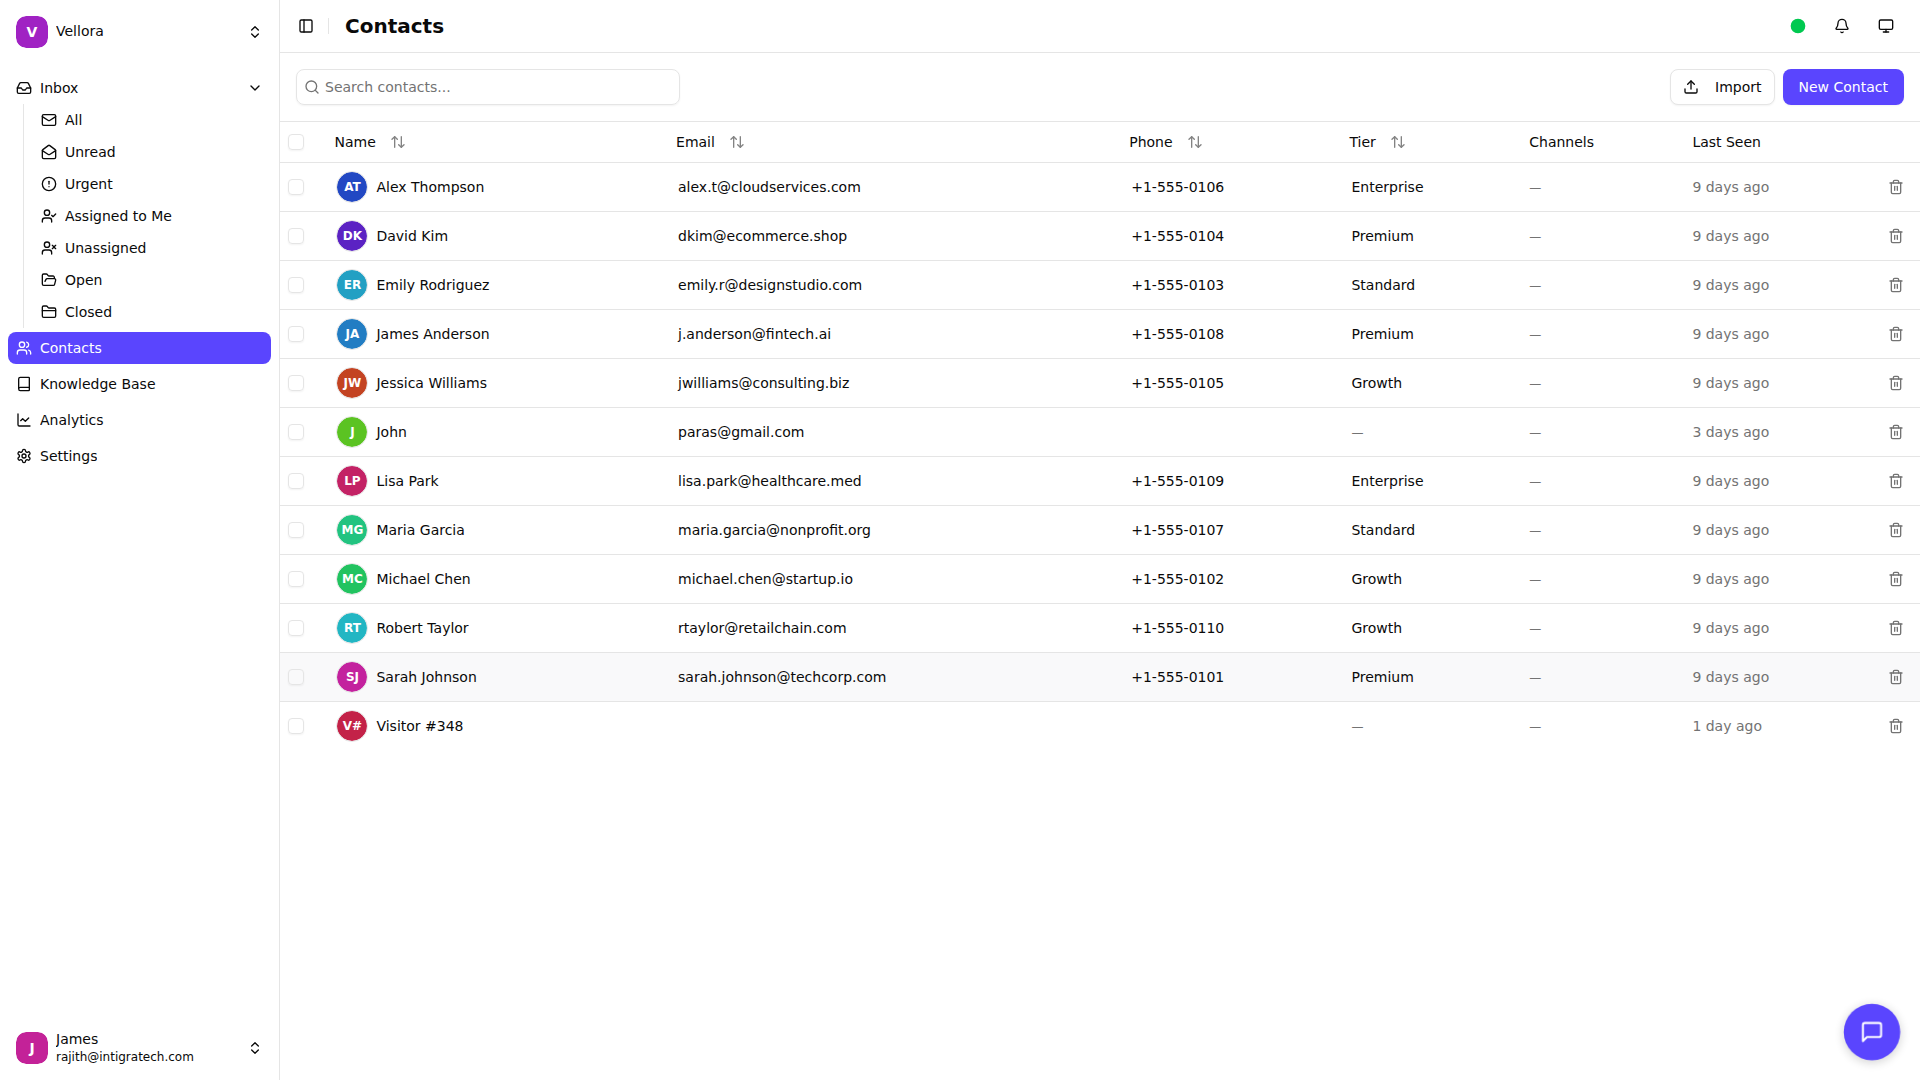
Contact List Features
The contact list shows:
- Name: Contact name with avatar
- Email: Contact email address
- Phone: Phone number if available
- Tier: Customer tier (if SLA is enabled)
- Channels: Communication channels used
- Last Seen: When they were last active
Searching Contacts
Use the search bar to find contacts by name or email. Results update as you type.
Creating a Contact
- Click New Contact in the top right
- Fill in the contact details:
- Name (required)
- Email (required)
- Phone (optional)
- Tier (optional, for SLA)
- Click Create
Editing a Contact
From the Contacts Page
- Click on a contact in the list
- Update any fields
- Click Save changes
From the Inbox
You can also edit contacts directly from a conversation:
- Open a conversation in the inbox
- Click the edit icon (pencil) next to the contact name in the right sidebar
- Update name, email, phone, or tier
- Click Save
This is convenient when you need to update contact details while handling a conversation.
Contact Avatars
Upload a custom avatar for contacts:
- Click on a contact to edit
- Click the avatar placeholder
- Upload an image (max 5MB)
- Save changes
Deleting Contacts
Single contact: Click the delete icon in the contact row and confirm.
Multiple contacts: Select contacts using checkboxes, then click Delete selected.
Deleting a contact removes their profile but preserves conversation history.