
Quick Start Guide
Updated Dec 15, 2025
Get up and running with Helplane in minutes.
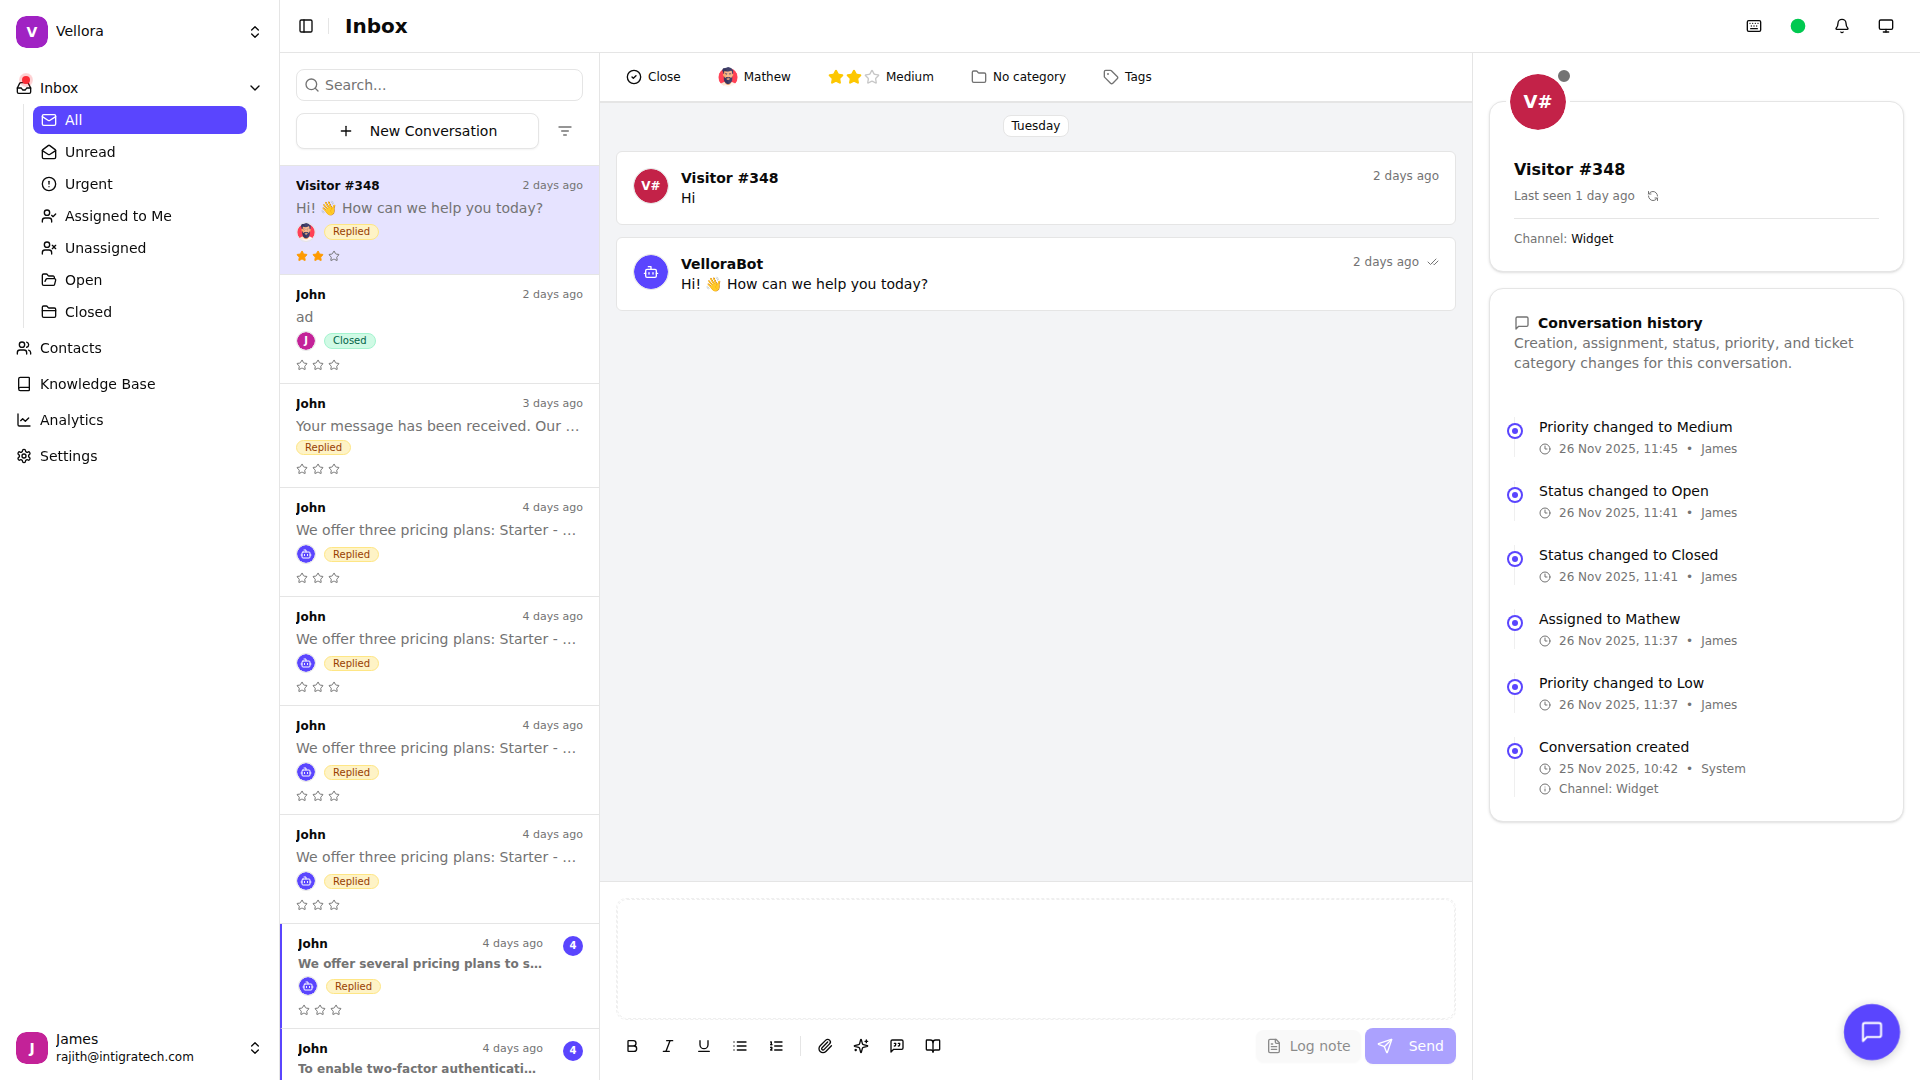
Step 1: Navigate Your Workspace
The sidebar provides access to all main features:
- Inbox - View and respond to customer conversations
- Contacts - Manage your customer database
- Knowledge Base - Create help articles for self-service
- Analytics - Track support performance metrics
- Settings - Configure your workspace
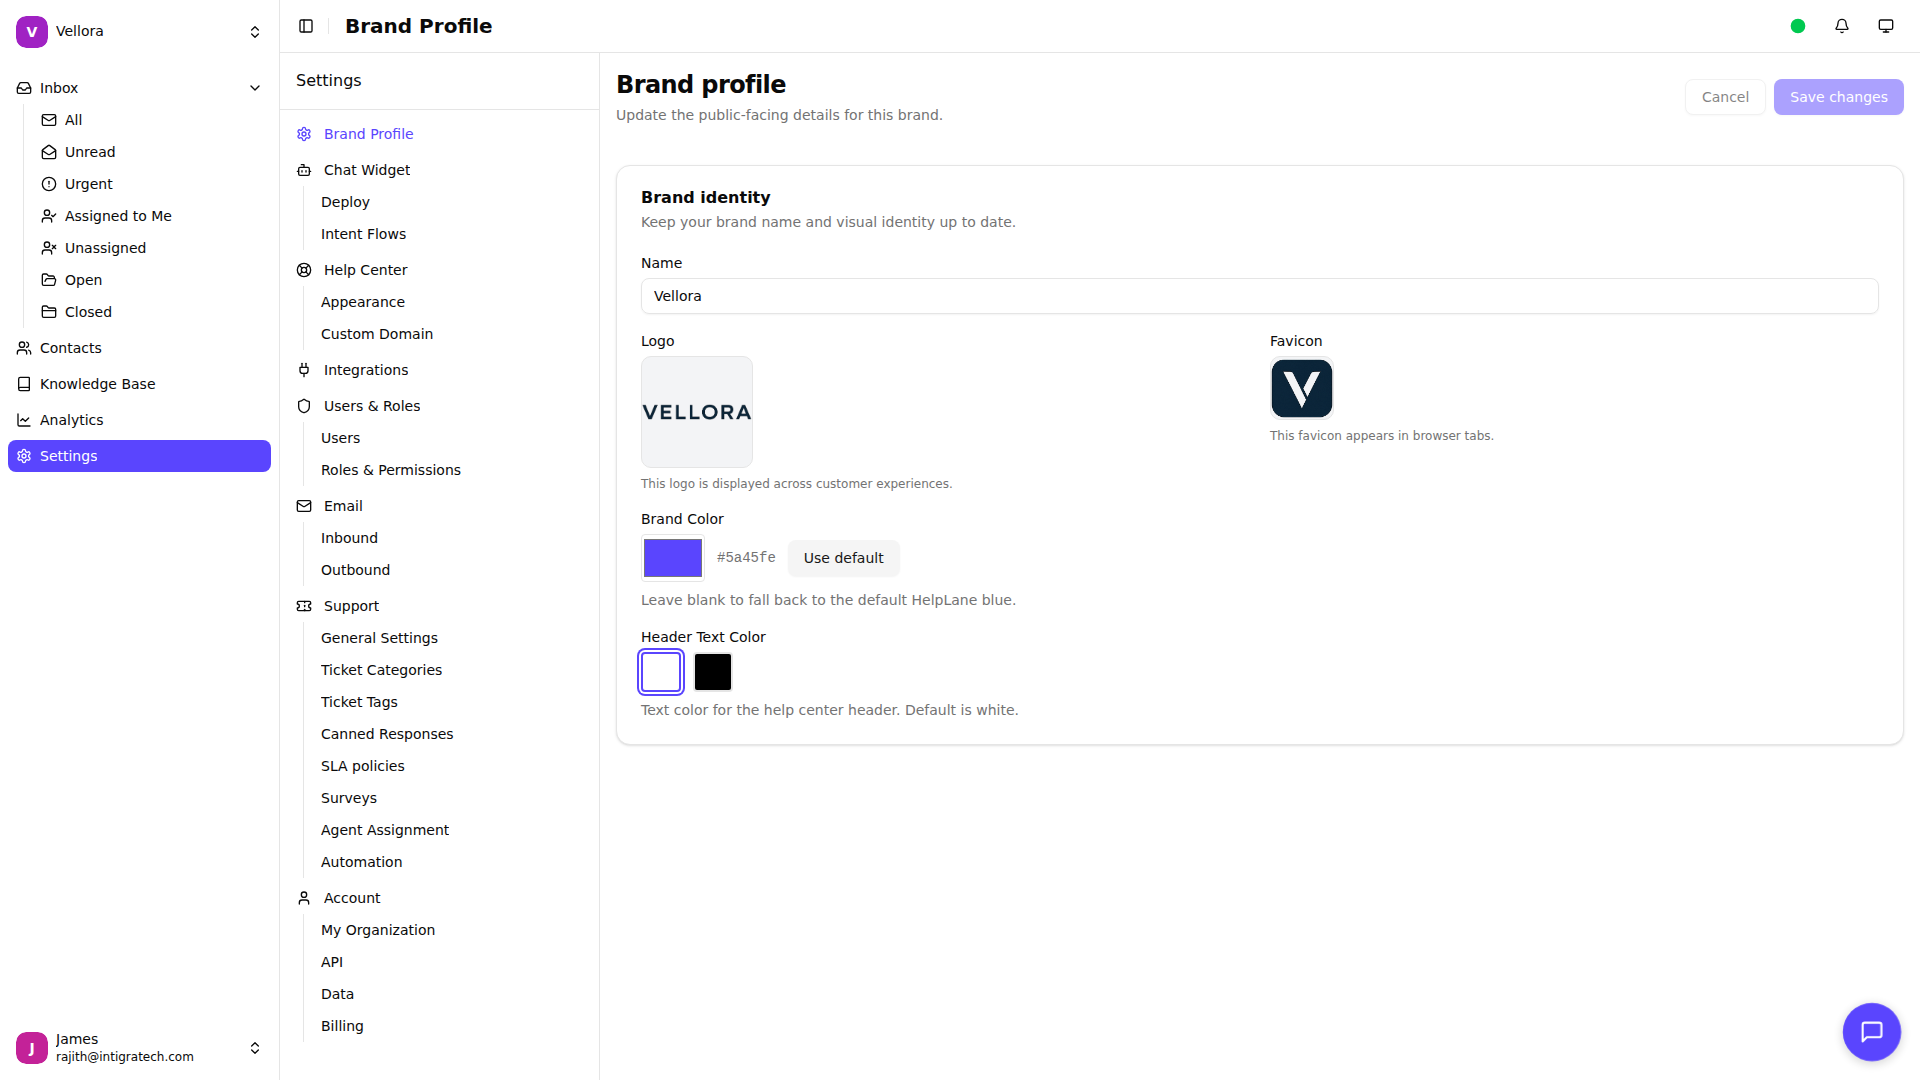
Step 2: Set Up Your Brand
- Click Settings in the sidebar
- Select Brand Profile
- Add your brand name and logo
- Set your brand color
- Click Save changes
Step 3: Configure Channels
Connect the channels your customers use:
- Go to Settings > Chat Widget to set up live chat
- Go to Settings > Email to connect your support email
- Deploy the chat widget on your website
Step 4: Invite Your Team
- Go to Settings > Users
- Click Add User
- Enter their email and select a role
- Click Invite
Step 5: Start Responding
- Click Inbox in the sidebar
- Select a conversation from the list
- Type your response in the composer
- Click Send